|
We have a 'hole duplicator', but could not use it here.
A normal hole duplicator has
2 prongs attached at one end. The other end has a nail-like
unit that locates the hole and a hammer that 'hits' the nail
to mark the hole location. This tool needs to straddle the
skin, which is not possible here (though we did use that
tool for the rear cabin 'wall').
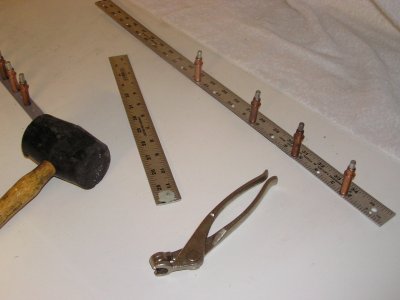
So we made our own single pronged 'hole duplicator'. We
drilled a hole near the end of a 12" metal ruler.
Then we cut off the head of a nail so it was about 1/2
inch long and used epoxy glue to glue the nail into
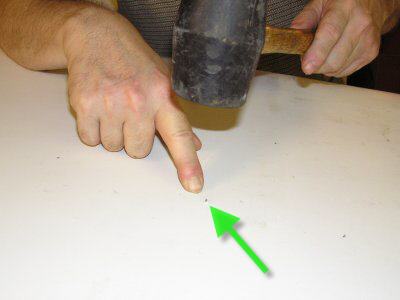
the ruler. To use this tool, one person goes under the
skin (fuselage is upside down) and puts the 'back' of
the nail into a pre-drilled hole in the tube. The
'point' of the nail rests against the skin. On the
other side of the skin, a second person hits the skin with
a rubber hammer and the 'point' of
the nail comes through the skin. That is where you drill
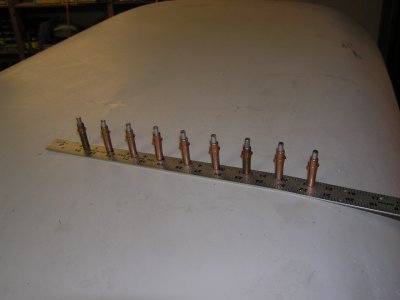
your hole. Drill 2 holes like this, then you can use a
metal ruler with 1 1/2" holes in it for the rest of that
row.
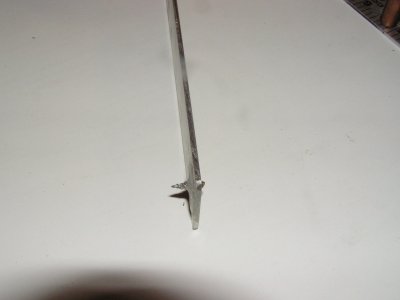
This photo shows our first tool. That one broke because the
'back' of the nail was too short and the glue did not hold.
You want the 'back' of the nail to be long enough to hit
the back of the tube when it goes through the pre-drilled
hole. You want the 'point' of the nail to stick
out about 1/4 inch. For example, say the tube is 3/8"
diameter. The nail will be
3/8" + 1/4". The 'back' of the nail stick out one side
of the ruler 3/8". The 'point' of the nail sticks out the
other side of the ruler 1/4".
We actually made 2 of these duplicators because some tubes
were narrower than others. Then we threw these tools away!
They were hard to use, but much easier (from our perspective)
than the alternatives!
|